How to connect your TouchOne to Wi-Fi
- William Pascoe
Wi-Fi connection during installation:
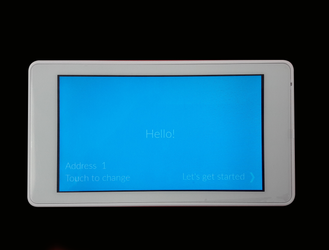
Connecting your TouchOne to Wi-Fi is useful so you can get the latest software updates. To do this you can follow the instructions during the setup wizard.
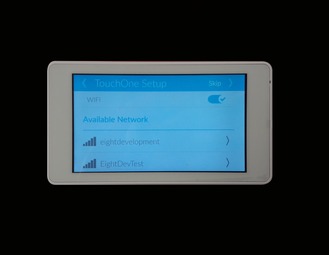
Once you reach the Wi-Fi screen of the installer menu, you will see a list of available networks.
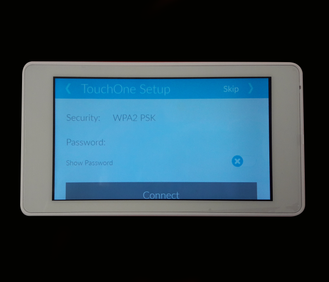
Choose the network that you want to connect to. This will bring a up screen where you will need to enter the password for that network, and press connect.
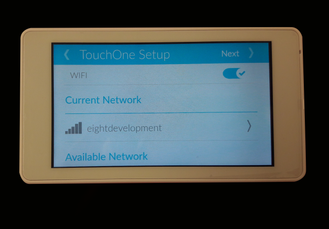
Once you have successfully connected to the network, you will see this screen displaying the current network the TouchOne is connected to.
At this point during the installer wizard’s process, the TouchOne will check to see if there are any software updates available.
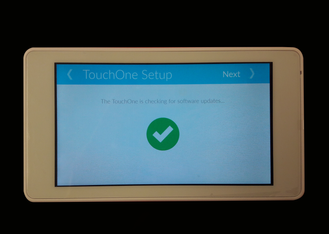
The TouchOne is successfully connected to Wi-Fi and up to date.
Wi-Fi connection through settings menu:
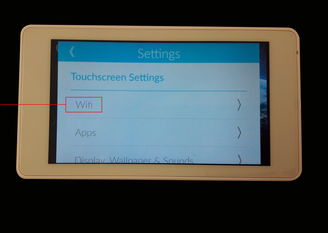
If you did not connect to Wi-Fi during the installation process you can do so through the settings menu.
Press the settings button from the home screen. Scroll down until you see the Touchscreen Settings heading. Find and press the Wifi button.
This will bring up the same screen with the list of networks as seen above in the installation process. Follow the same steps to connect to a network.